Social media templates in Canva
Using social media templates in Canva
Canva is a web-based design platform with free and paid versions. The free version is sufficient for working with RLadies+ social media templates. You need a free account and an internet connection. Google Chrome is recommended — Safari has known compatibility issues.
Templates are also available in the RLadies+ Canva workspace. See the Social media management guide for how templates are organised and posting workflows.
Info
The social media templates follow the RLadies+ branding guidelines. Do not change the fonts or colours of the elements, or add new elements (unless adding logos) to maintain brand consistency.
The Canva interface
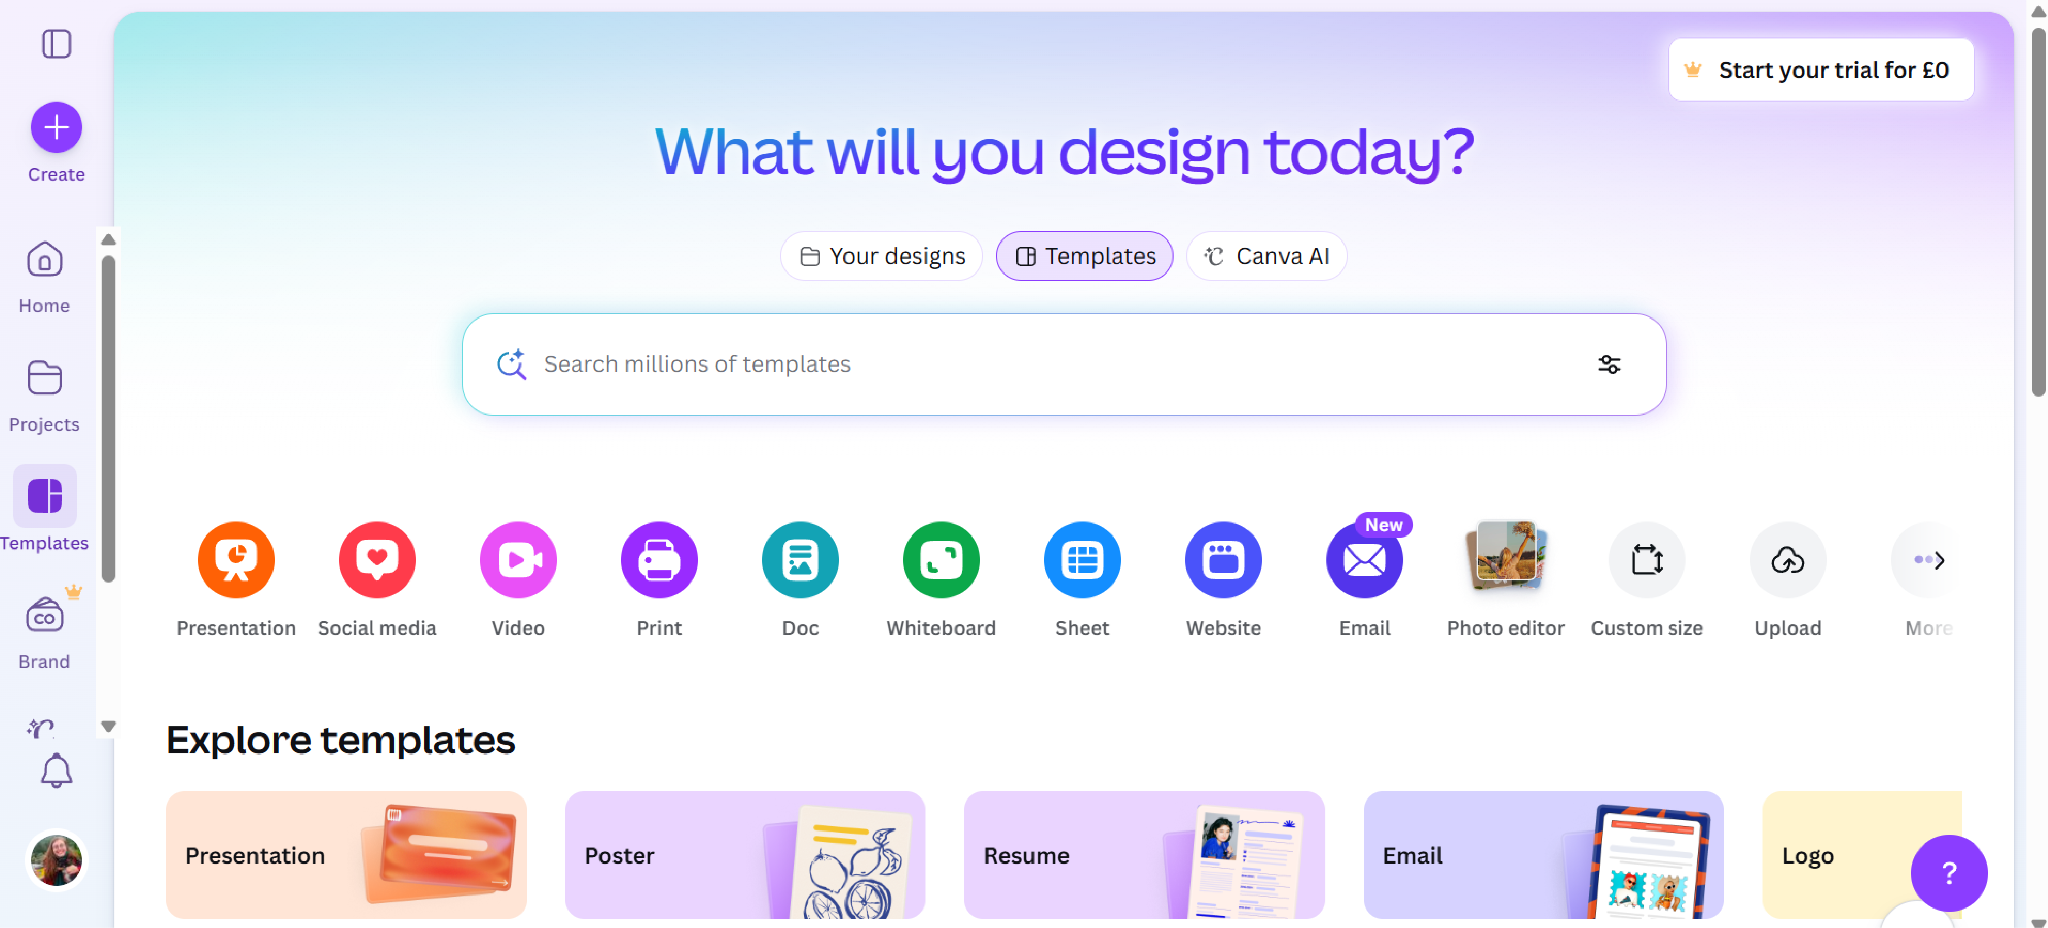
When you sign in, the Canva homepage shows categories like Presentation, Social media, Video, and Print.
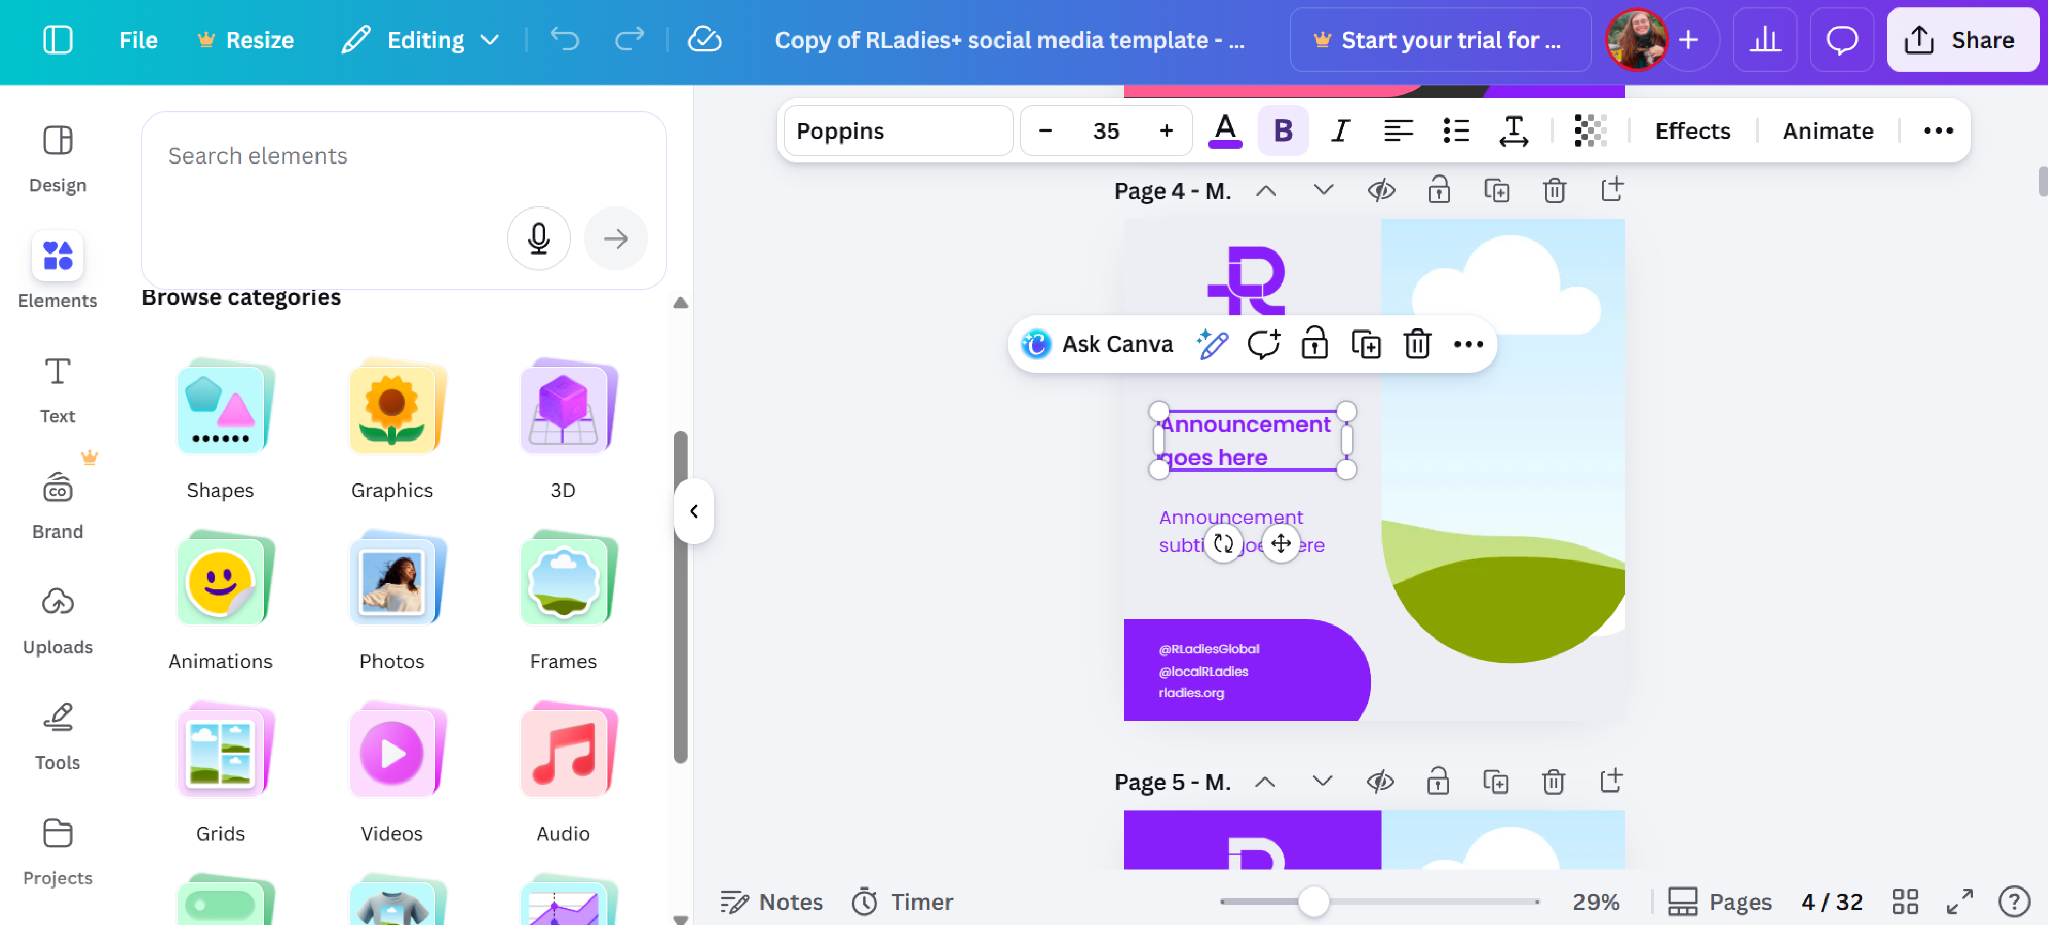
Once inside a template, the editor shows a sidebar with tools (Design, Elements, Text) and a canvas area with your template pages.
Available formats
Templates come in various dimensions for different platforms:
- Social media posts: 1:1 (square), 4:5, 9:16, and 16:9 formats
- Banners/covers: 3:1, 4:1, and 16:9 formats
Accessing templates
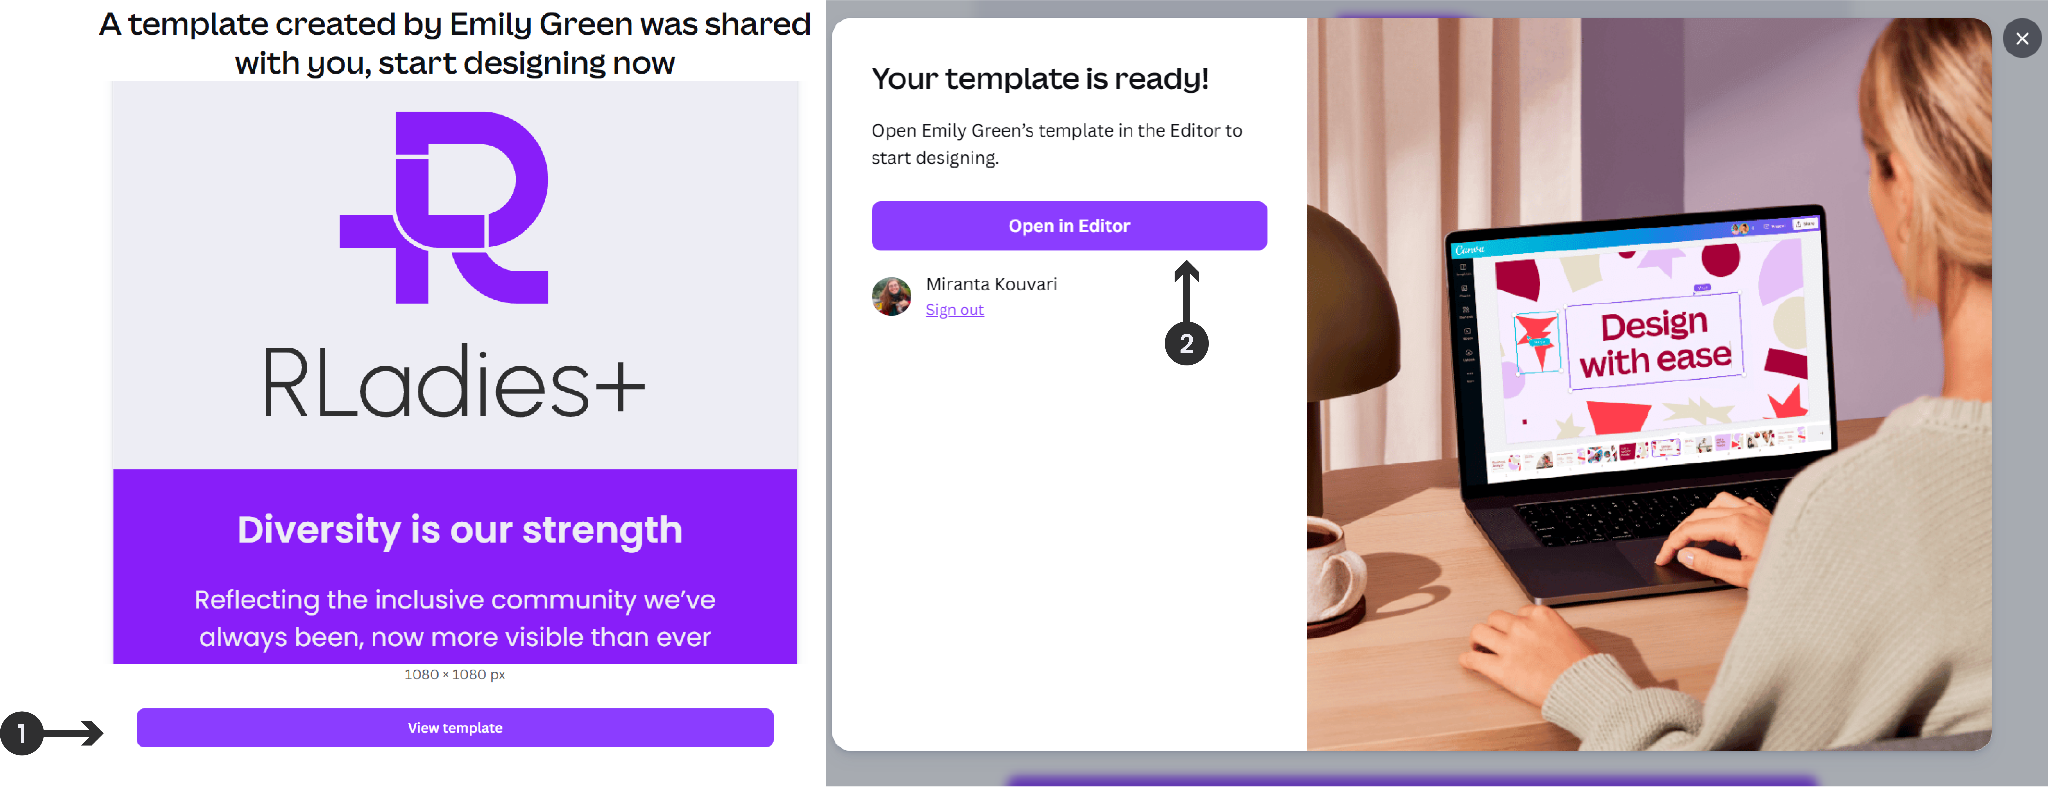
- Click the provided template link
- Select View Template
- Click Open in Editor to create an editable copy in your Canva account
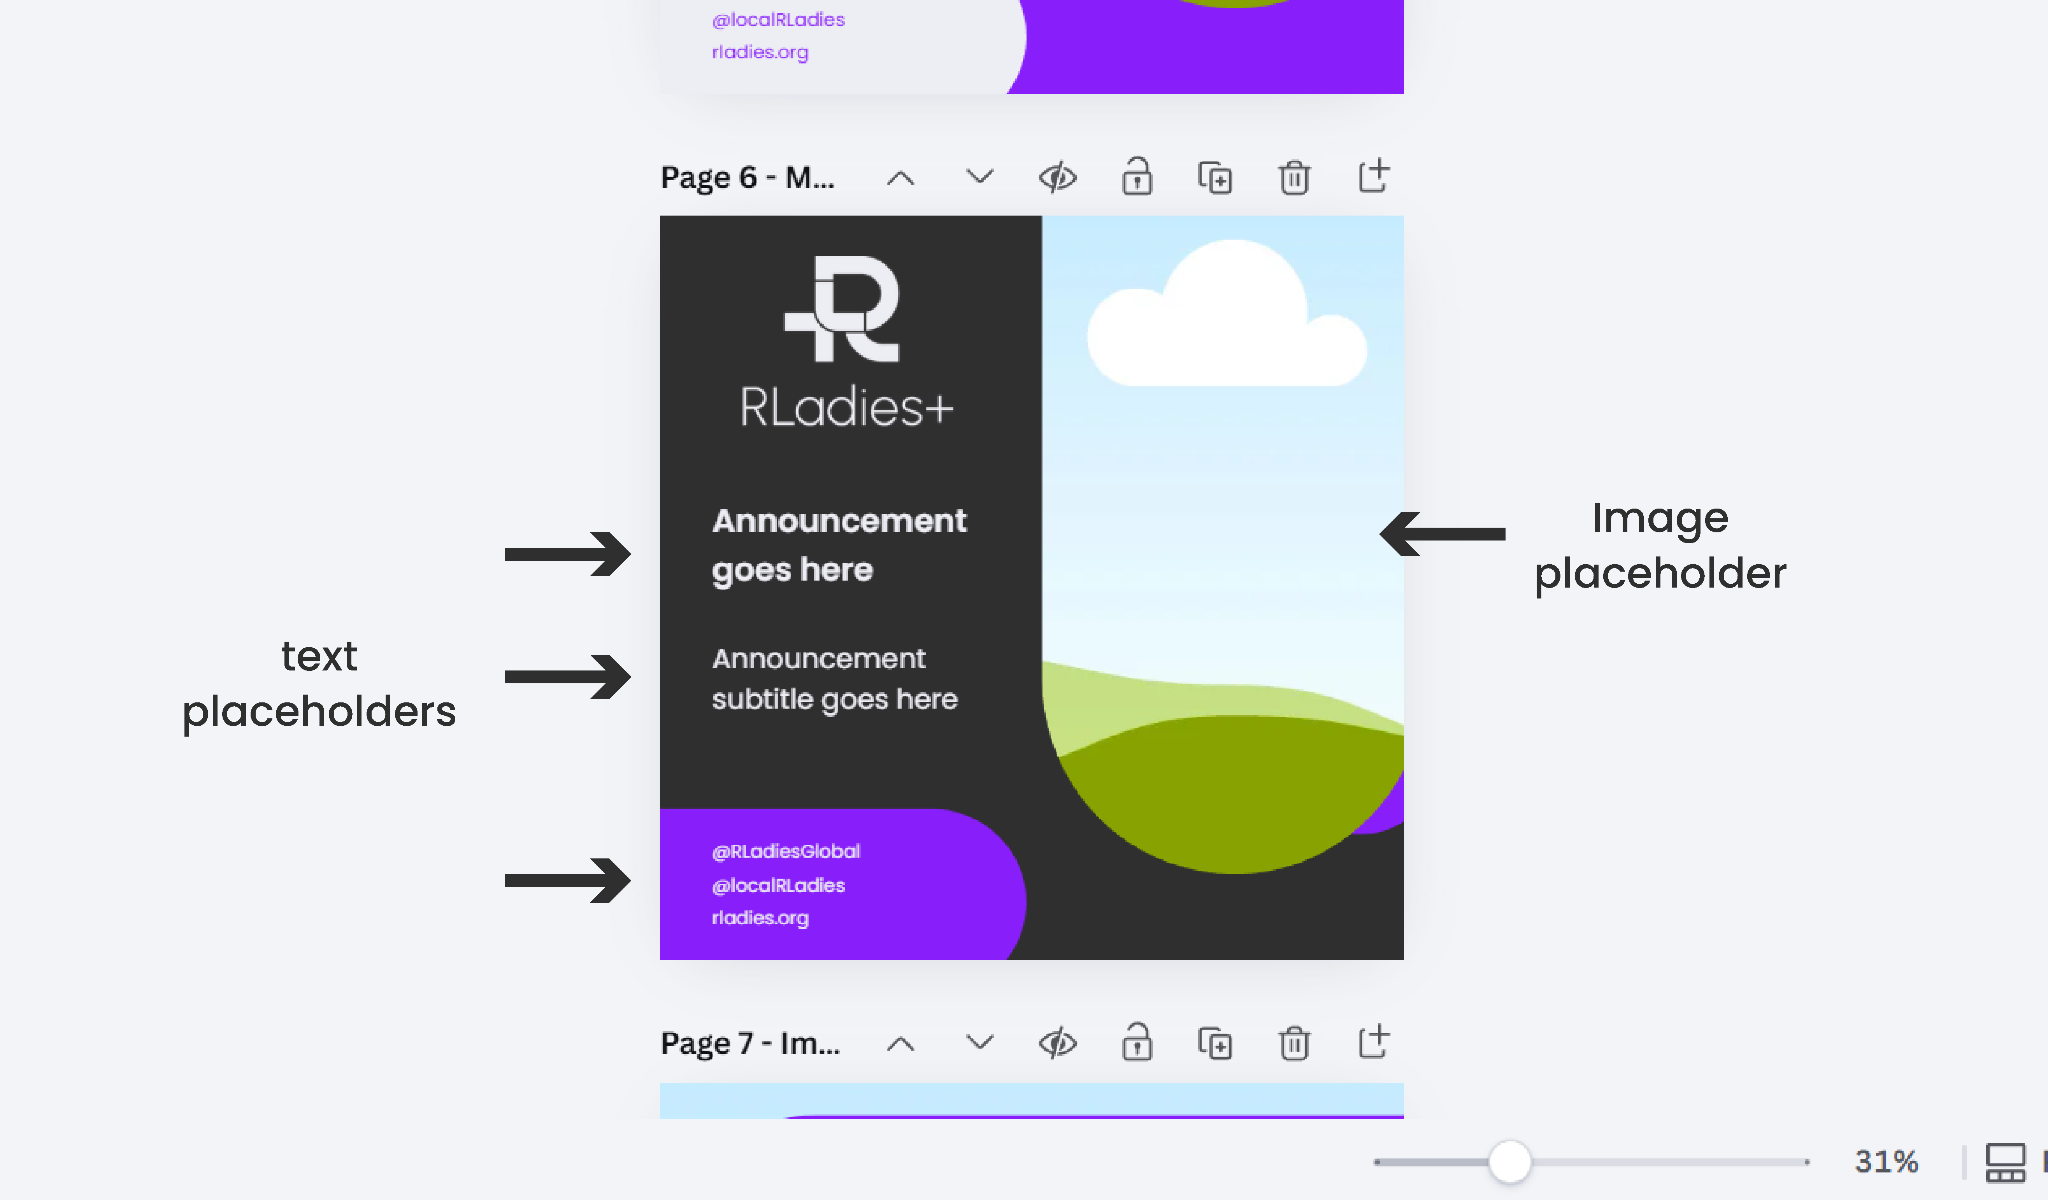
Template layout
Each template page has pre-formatted placeholders for text and images. The arrows below show where to find each editable region.
Customising content
Text
Click a text placeholder and type your content. Use bold for emphasis only. Avoid italics, underlines, or all-caps for accessibility.
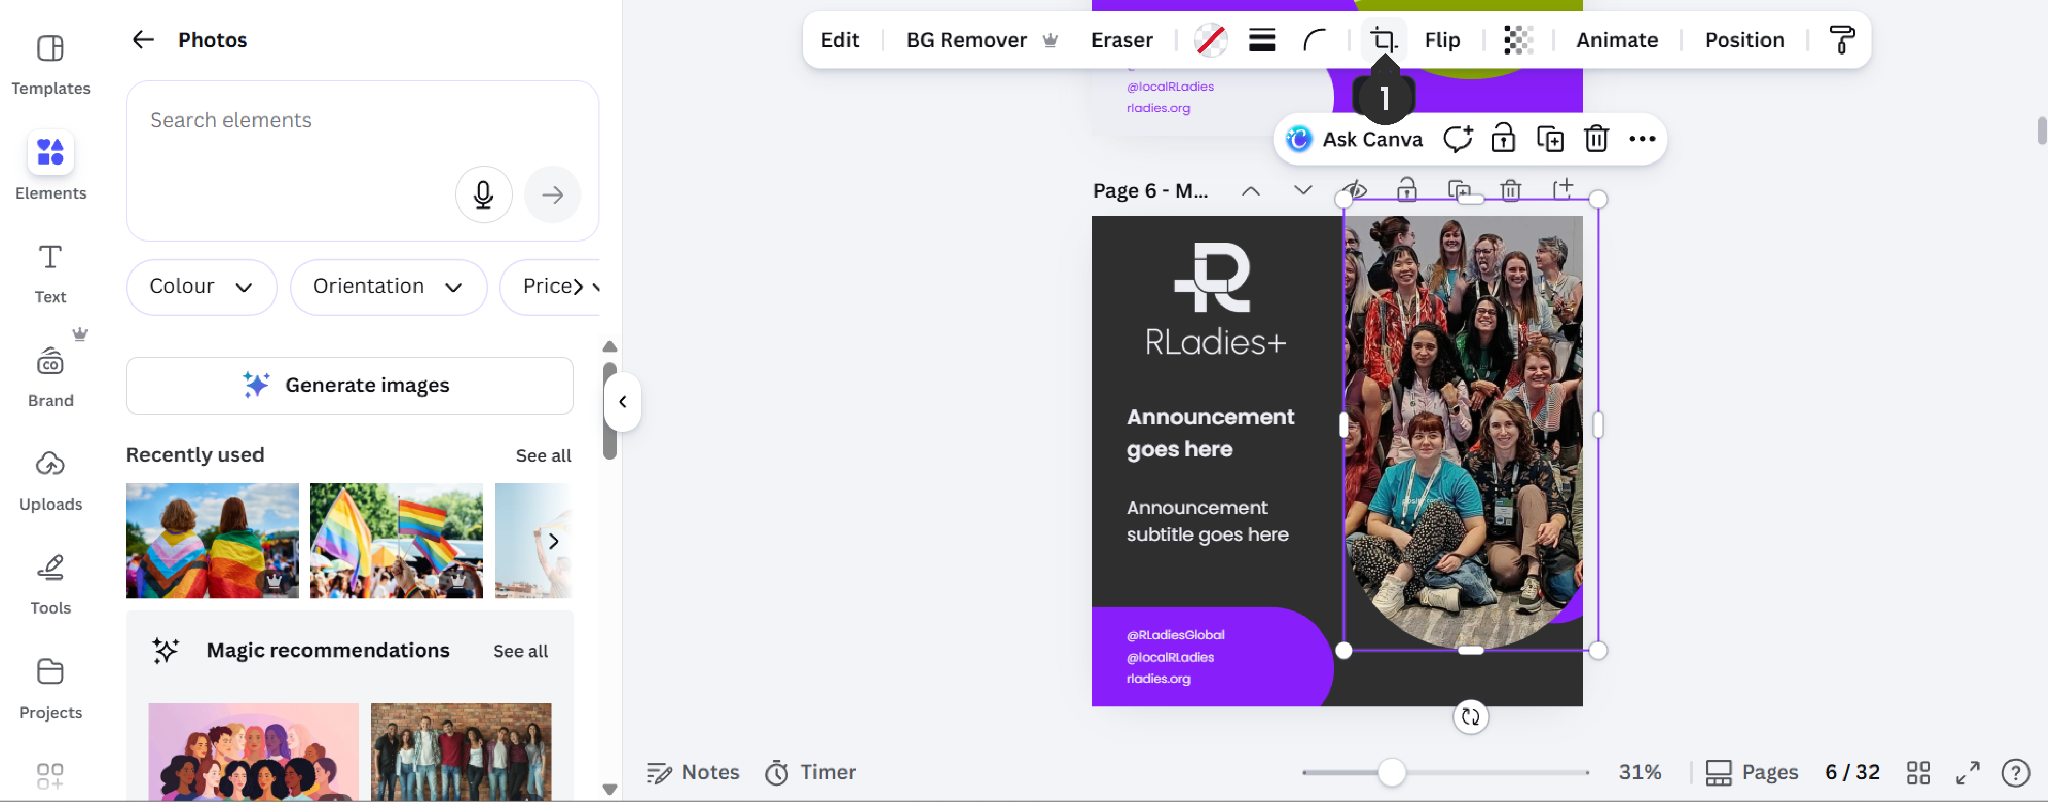
Images
Browse Canva’s photo library via Elements > Photos in the sidebar, or drag images from your computer directly into placeholders.

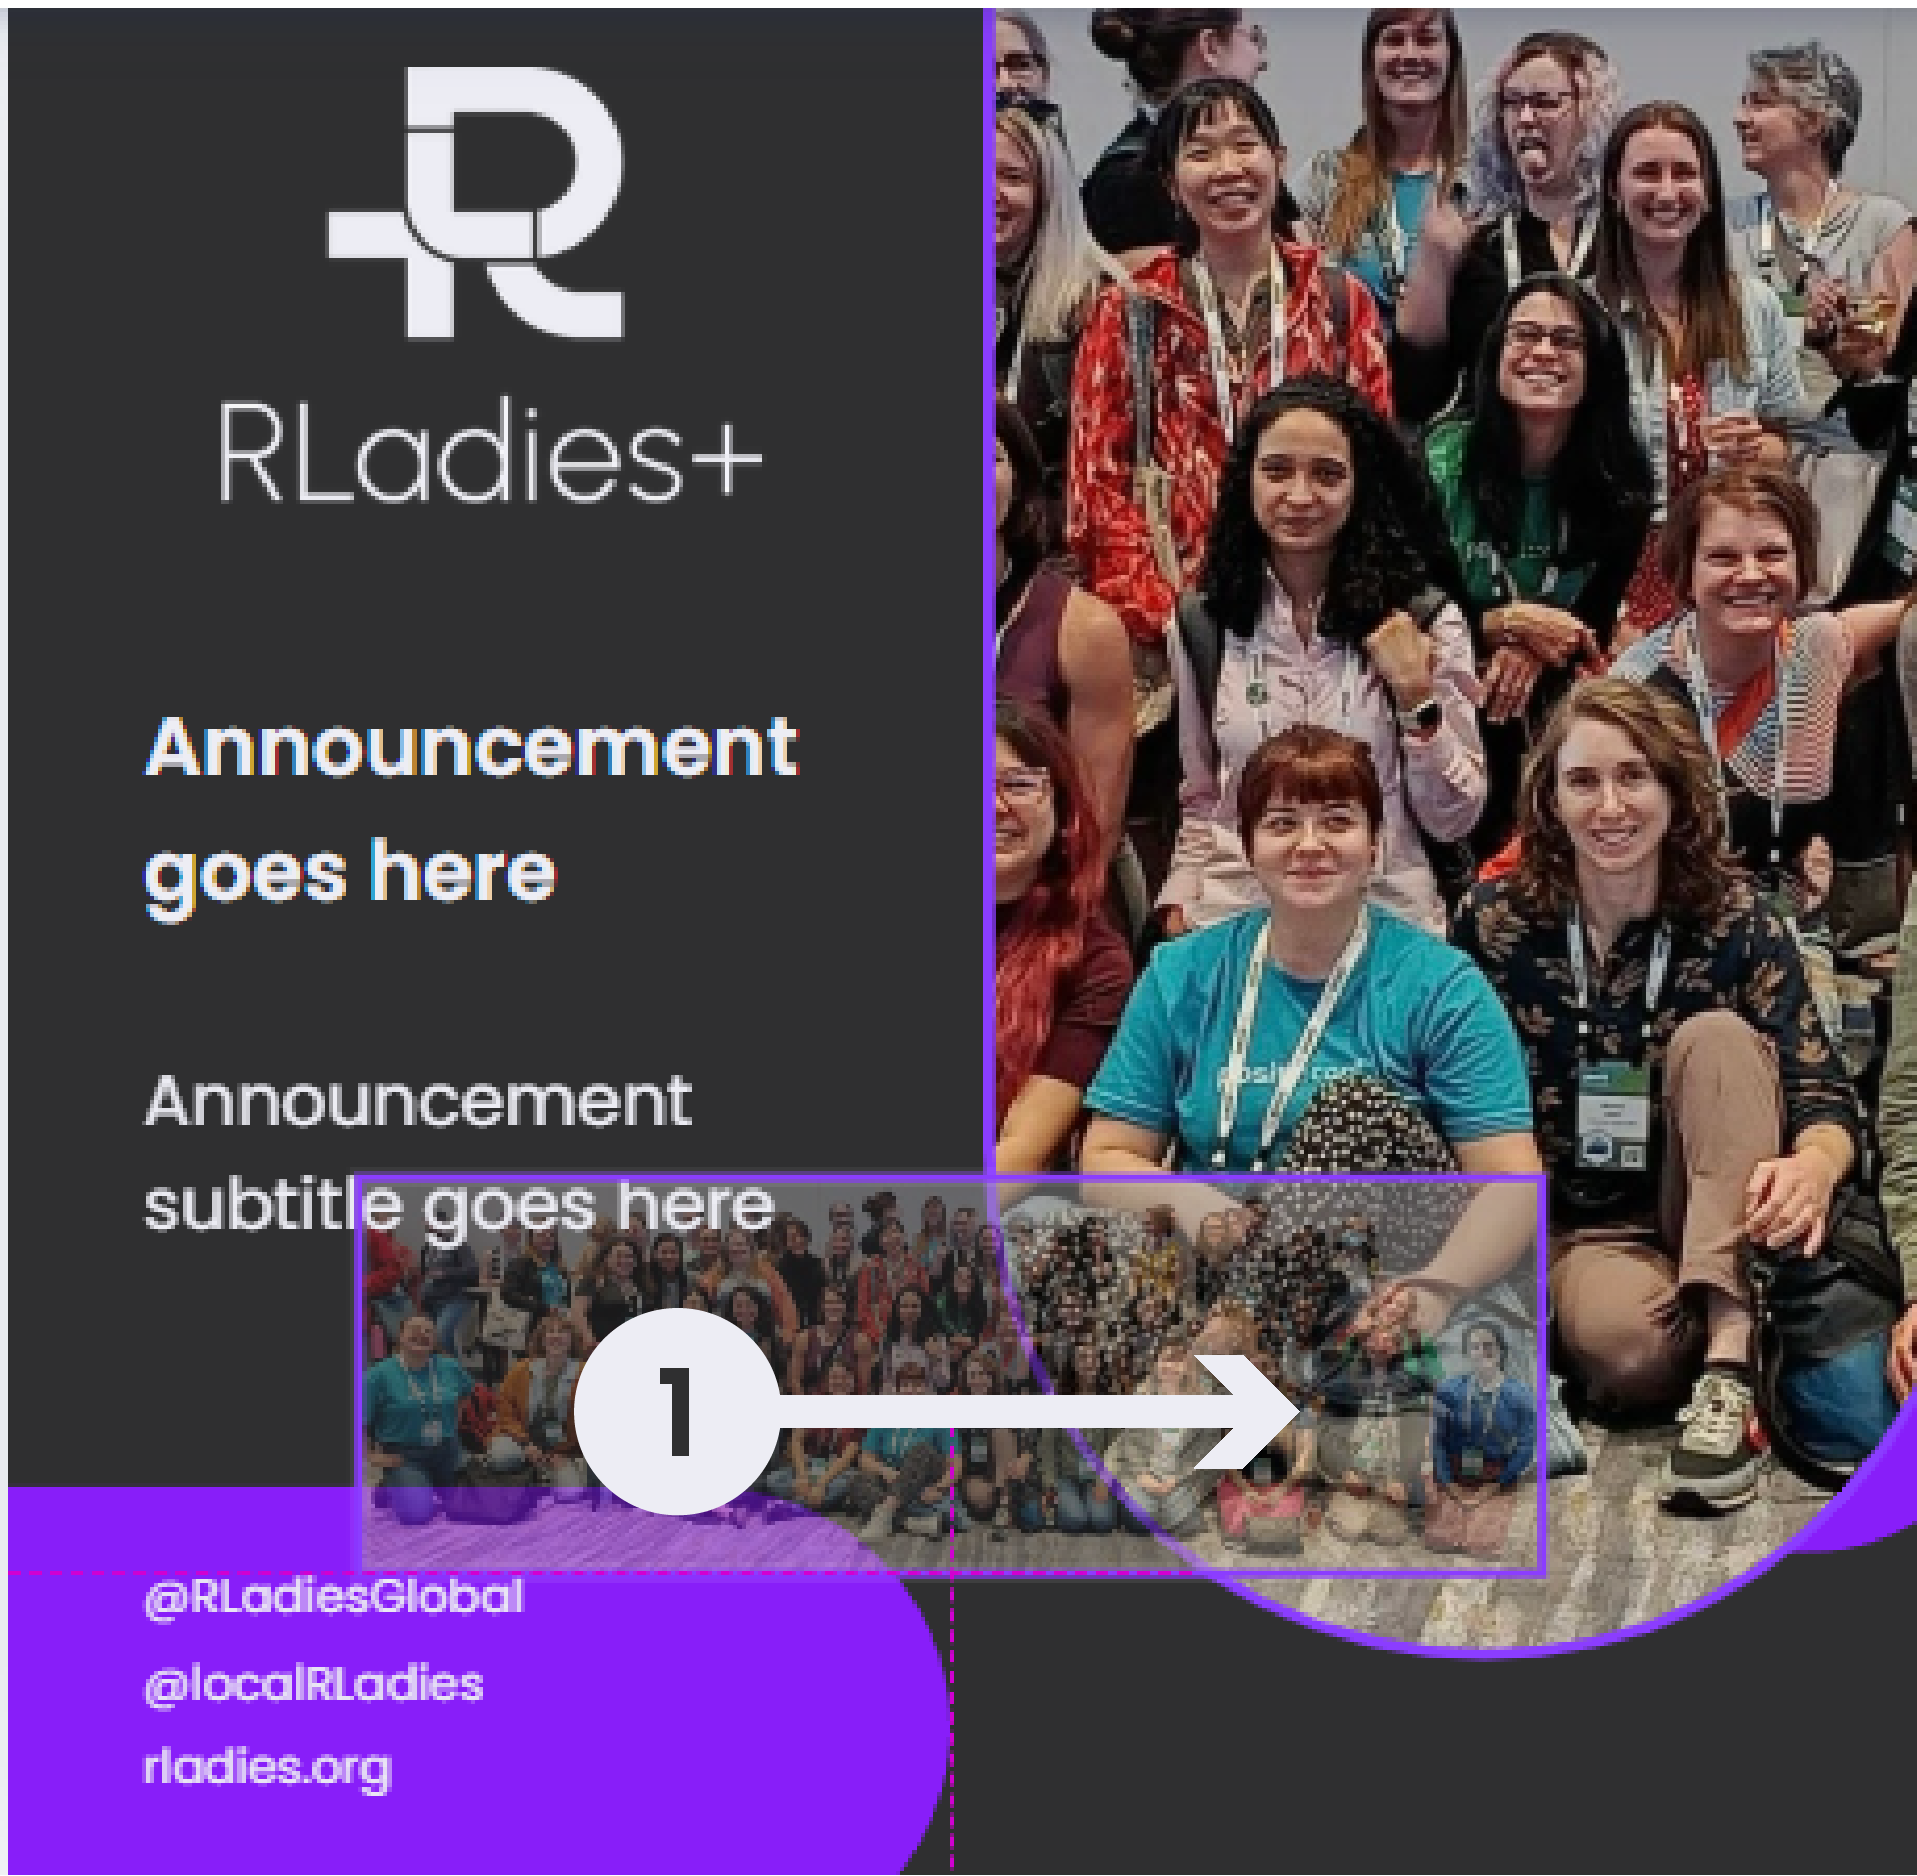
Use the Crop tool to adjust positioning. Images should fill the entire placeholder.
Logos
Drag and drop institution or chapter hex logos onto pages, or use Insert > Image.
Animations (for video posts)
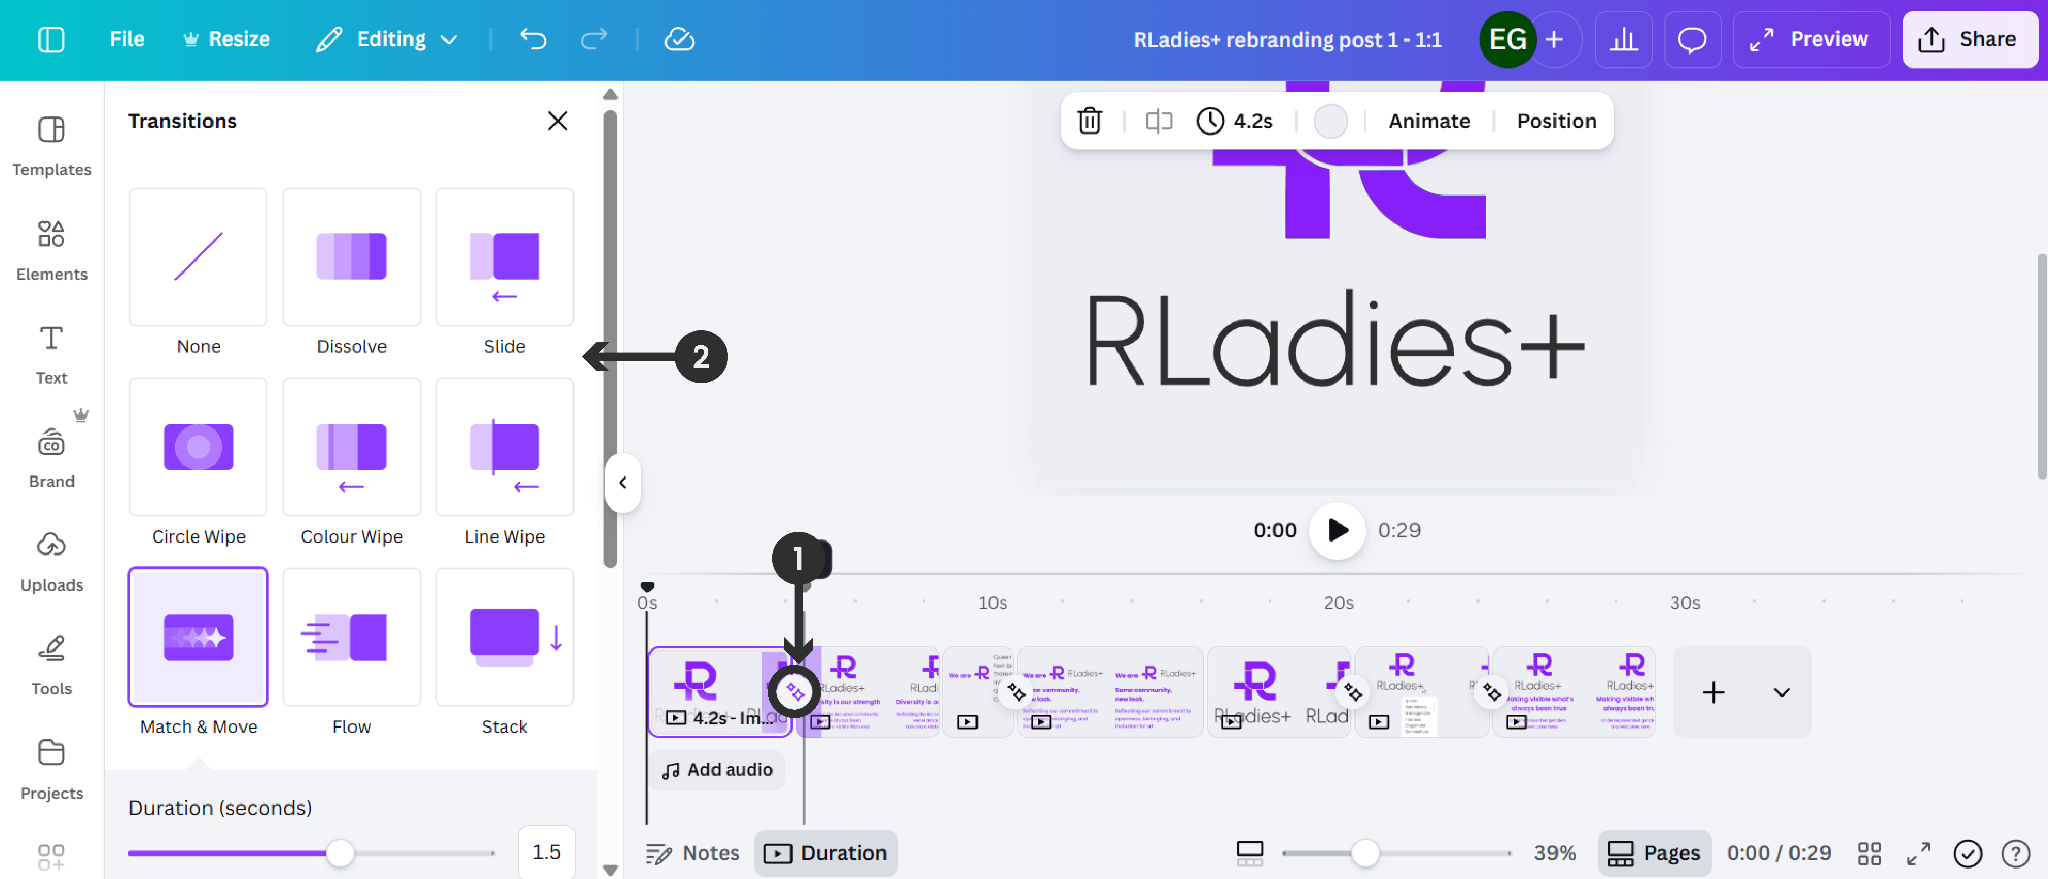
To animate text, select the text element, choose an animation style (e.g. Typewriter, Ascend, Shift), and adjust timing on the video timeline.
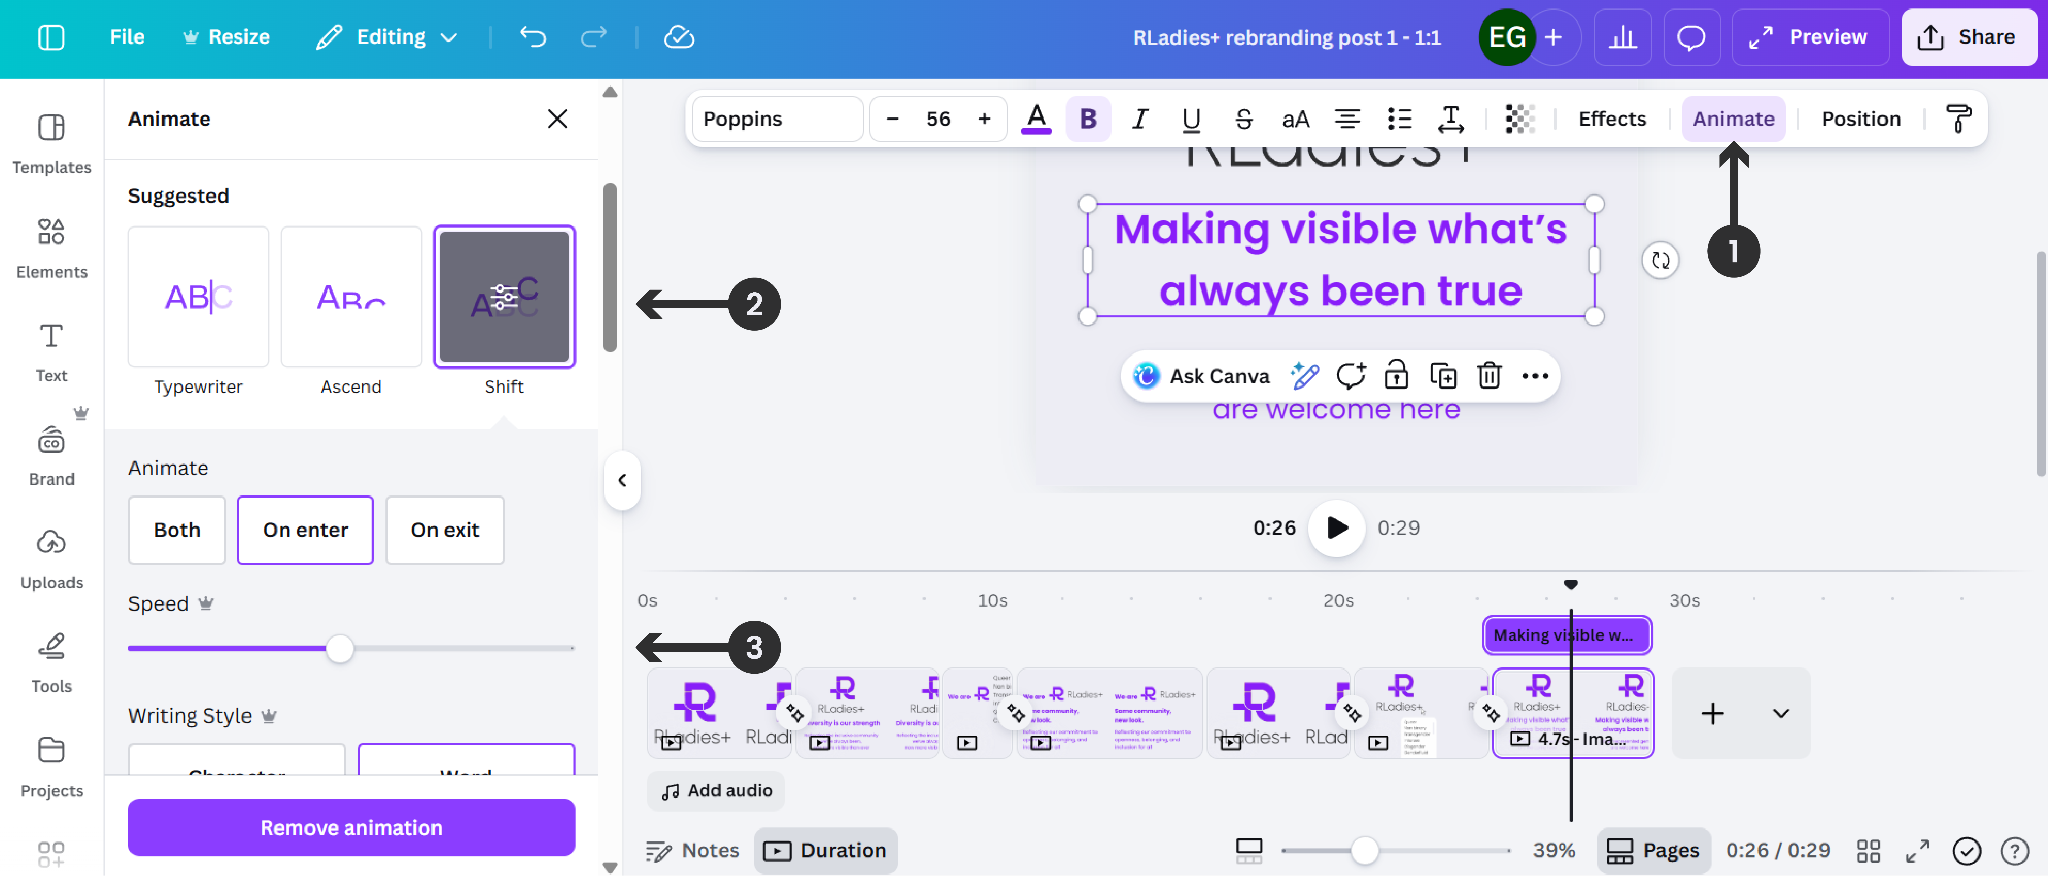
To add transitions between slides, click between slides on the timeline and select a transition effect.
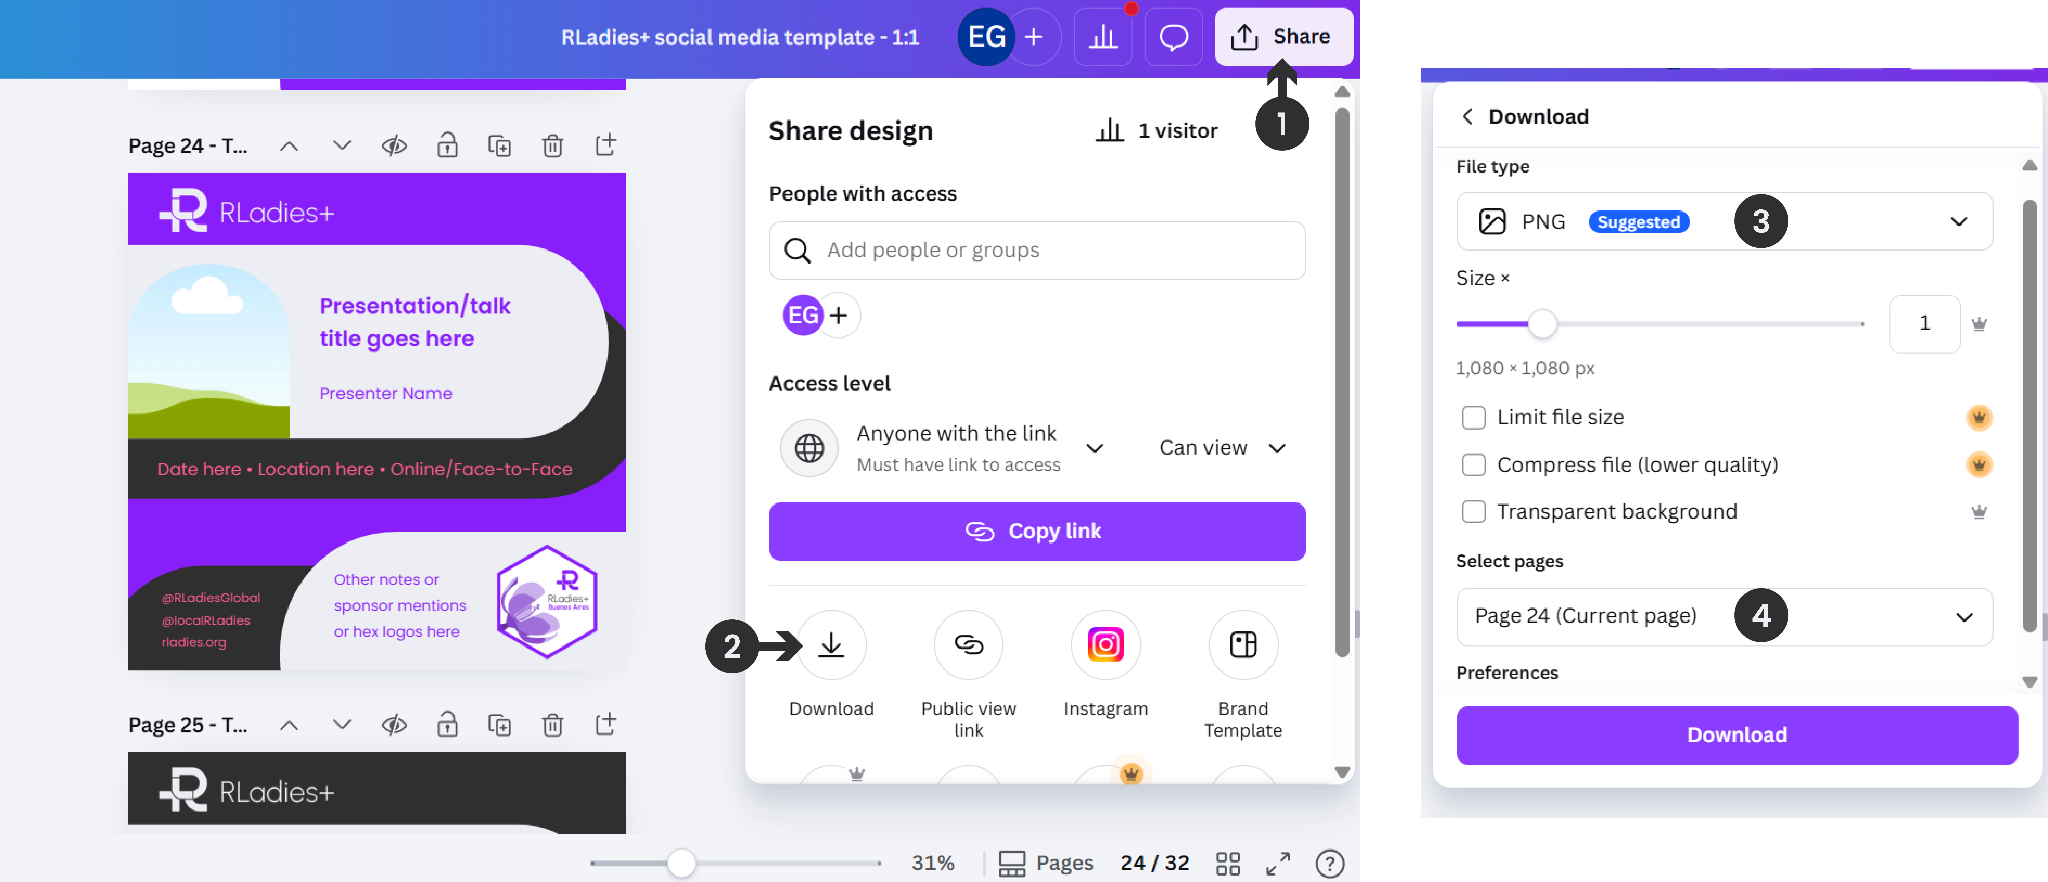
Exporting
- Click Share
- Select Download
- Choose PNG or JPG format (or GIF for animated content)
- Select which pages to export
- Click Download